How to Delete an Operating System from Dual Boot Computer
Hello everyone! In this post, I'll demonstrate the step-by-step process of removing an operating system from a dual-boot computer.
There are various reasons why you might want to do this, such as having two systems and needing to delete one, or simply wanting to perform a clean reinstallation. However, please note that this procedure is not as straightforward as formatting and deleting a partition.
Nevertheless, the method I'll be showing you here is quite straightforward, making it easy to remove an operating system from your dual-boot setup. Let's get started!
 |
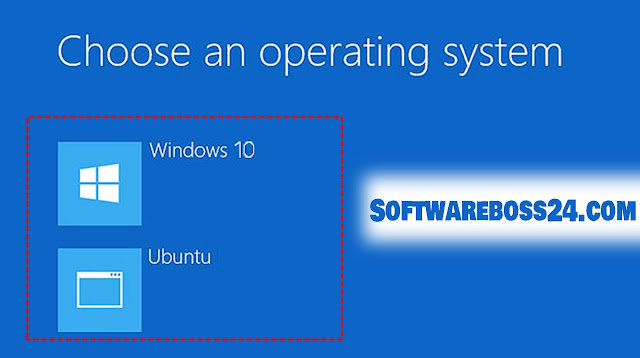
| Remove OS from Windows Dual Boot Config - Choose an Operating System |
Remove Dual Boot Menu – Fix for Windows
If you have recently installed a new version of Windows alongside a previous one, your computer's Windows Boot Manager screen will display a dual-boot menu. This menu allows you to choose between the new version and the earlier version of Windows to boot into.
How To Fix Dual Boot Option Not Showing in Windows 10/7
This article will guide you through the process of removing the dual-boot menu for the following Windows versions: XP, Vista, 7, 8, 8.1, and 10.
Please note that all instructions provided here will be in English. Let's proceed with the steps to remove the dual-boot menu from your system.
 |
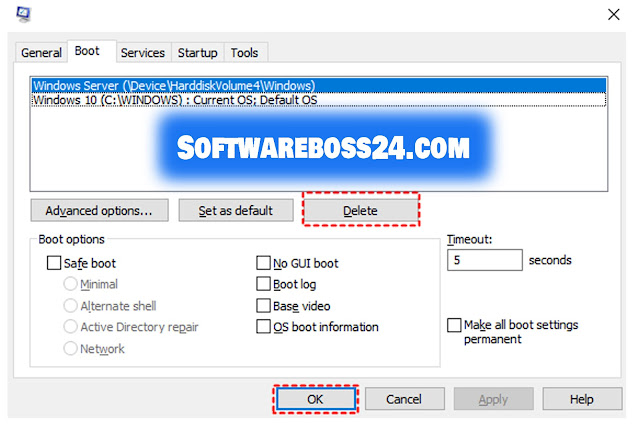
| Windows Dual Boot Remove - Delete Old Boot Menu Options on Windows 10 |
Safely Remove Dual Boot Windows 10 without Causing Problems
Fix #1 Method: Open MSConfig
Using the msconfig utility tool allows you to select which version of Windows you’d like to boot directly into when you restart your computer.
Follow these steps:
- Click Start Menu or Windows key + R
- Type msconfig in the search box or open Run Box Ok
- Go to Boot
- Select which Windows version you’d like to boot into directly
- Press Set as Default
- You can delete the earlier version by selecting it and then clicking Delete
- Click Apply
- Click OK
Then Restart your Computer.
When you opt to remove a version from the Boot tab of msconfig, that specific Windows version will not be deleted from your system, but it will no longer appear on the Windows Boot Manager screen.
Repair the boot menu on a dual-boot PC - Windows
Fix #2 Method: Use EasyBCD
Using EasyBCD, you can easily remove this bug. Just follow these steps.
Click on the EasyBCD icon located on your desktop.
- Navigate to the "Edit Boot Menu" tab, which is represented by an icon resembling a wrench and screwdriver.
- Identify the entry corresponding to the previous Windows version in the list.
- Select the previous version entry.
- Click on the "Delete" option, represented by an X enclosed in an octagon.
By following these steps, you can effortlessly remove unwanted entries from the Windows Boot Manager screen using EasyBCD.
